$ history
Active Directory – Home Lab
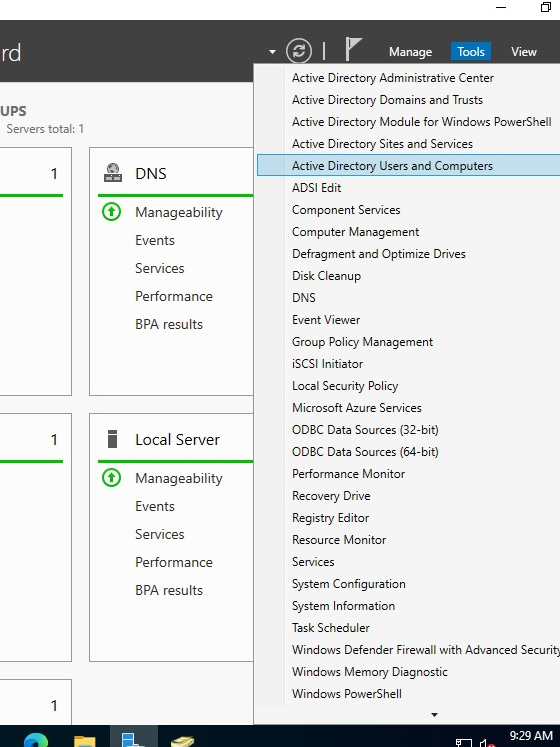
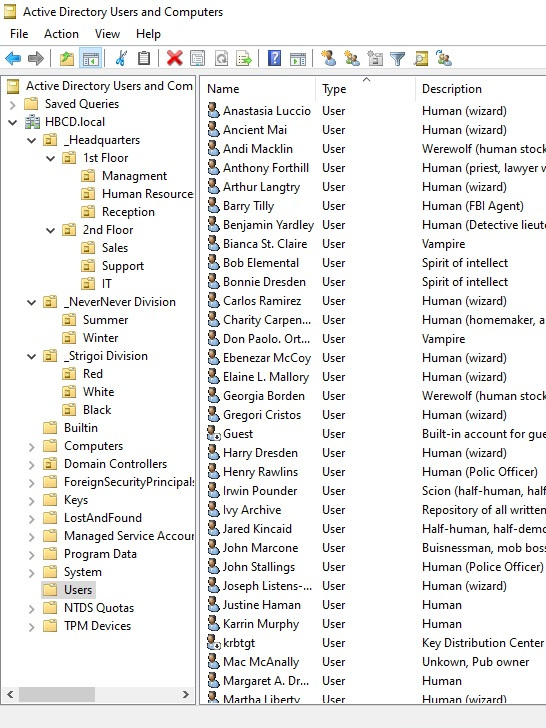
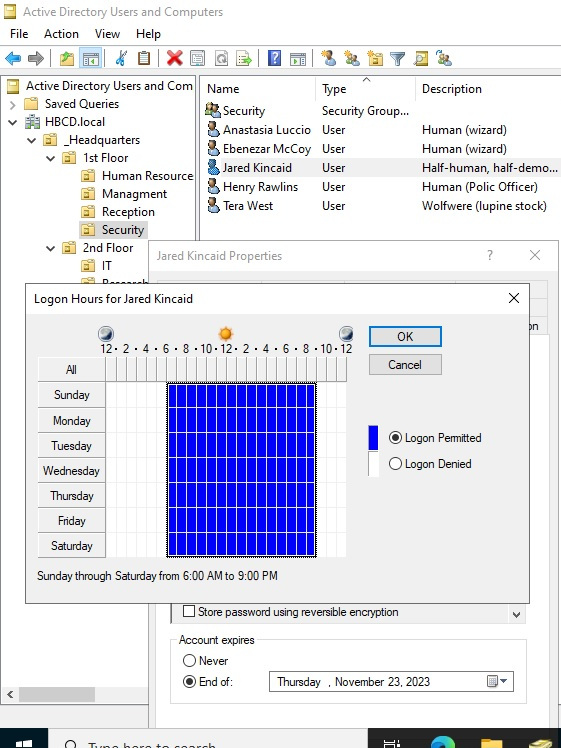
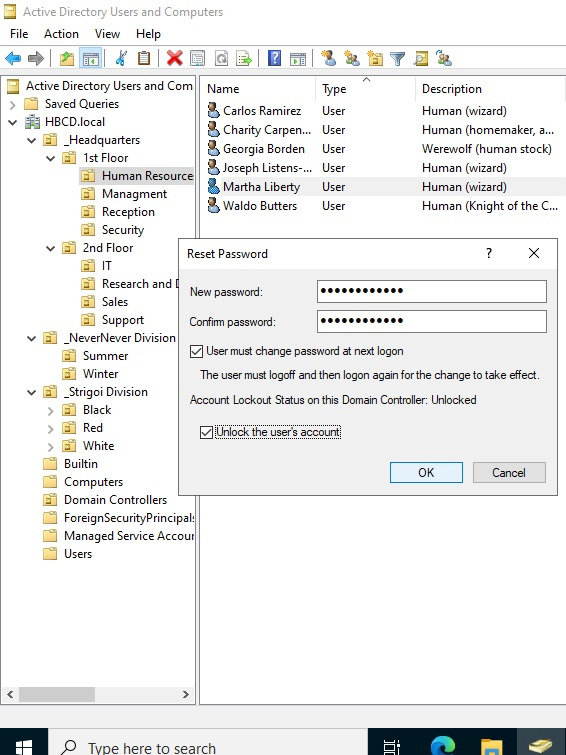
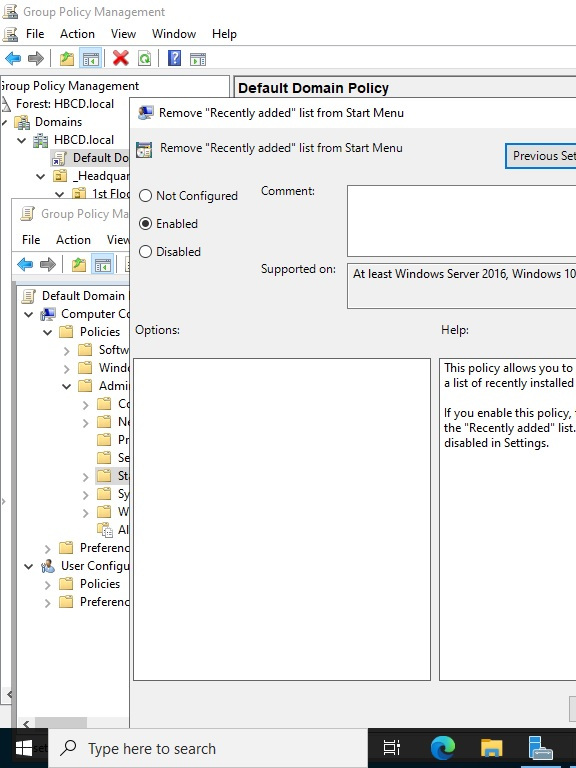
When working through my A+ certification I discovered the use of Active Directory to provide centralized authentication and authorization for an organization. I discovered that I could download an evaluation copy of Windows Server 2022 for free. This allowed me to set-up a home lab environment to further explore the set-up and implementation of Active Directory. I took characters form a fictional book series I enjoyed reading and used them to created a simulated enterprise structure of users (to the best of my knowledge) in Active Directory. There are so many details about Active Directory, and servers in general, that I have yet to learn, but inch by inch… I’m getting much more comfortable in this digital environment.
Components
Dell Optiplex 9010 (Spare PC)
Windows Server 2022 (Evaluation)
Skills
General Navigation
Creation and Configuration of OU’s, Users and Groups
User Account Unlock and Password Reset
Create and Manage Group Polices
References
Easily Setup & Install Windows Server 2019 in VirtualBox (Playlist)
Learn Microsoft Active Directory (ADDS) in 30mins
Windows Server 2019 Group Policy Explained
Raspberry Pi – All In One (COMING SOON)
I currently have a few separate Raspberry Pi projects under my belt, all living on separate boards. As I started learning about virtual machine’s and container’s I wanted to test out these technologies while de-cluttering my desk full of Pi boards. I decided to focus on containers for this project , by using Docker and Portainer to manager the containers. To create this All-In-One Raspberry Pi I will be combining my Pi-Hole add blocker with Unbound (creating a recursive DNS for my network), a small DIY Network Attached Storage/media server, an internet speed test tracker, and a self-hosted application dashboard called Homepage.
Components
XXXXXX
XXXXXX
Skills
XXXXX
XXXXX
XXXXX
References
XXXXX
XXXXX
XXXXX
Screen Brightness Alarm
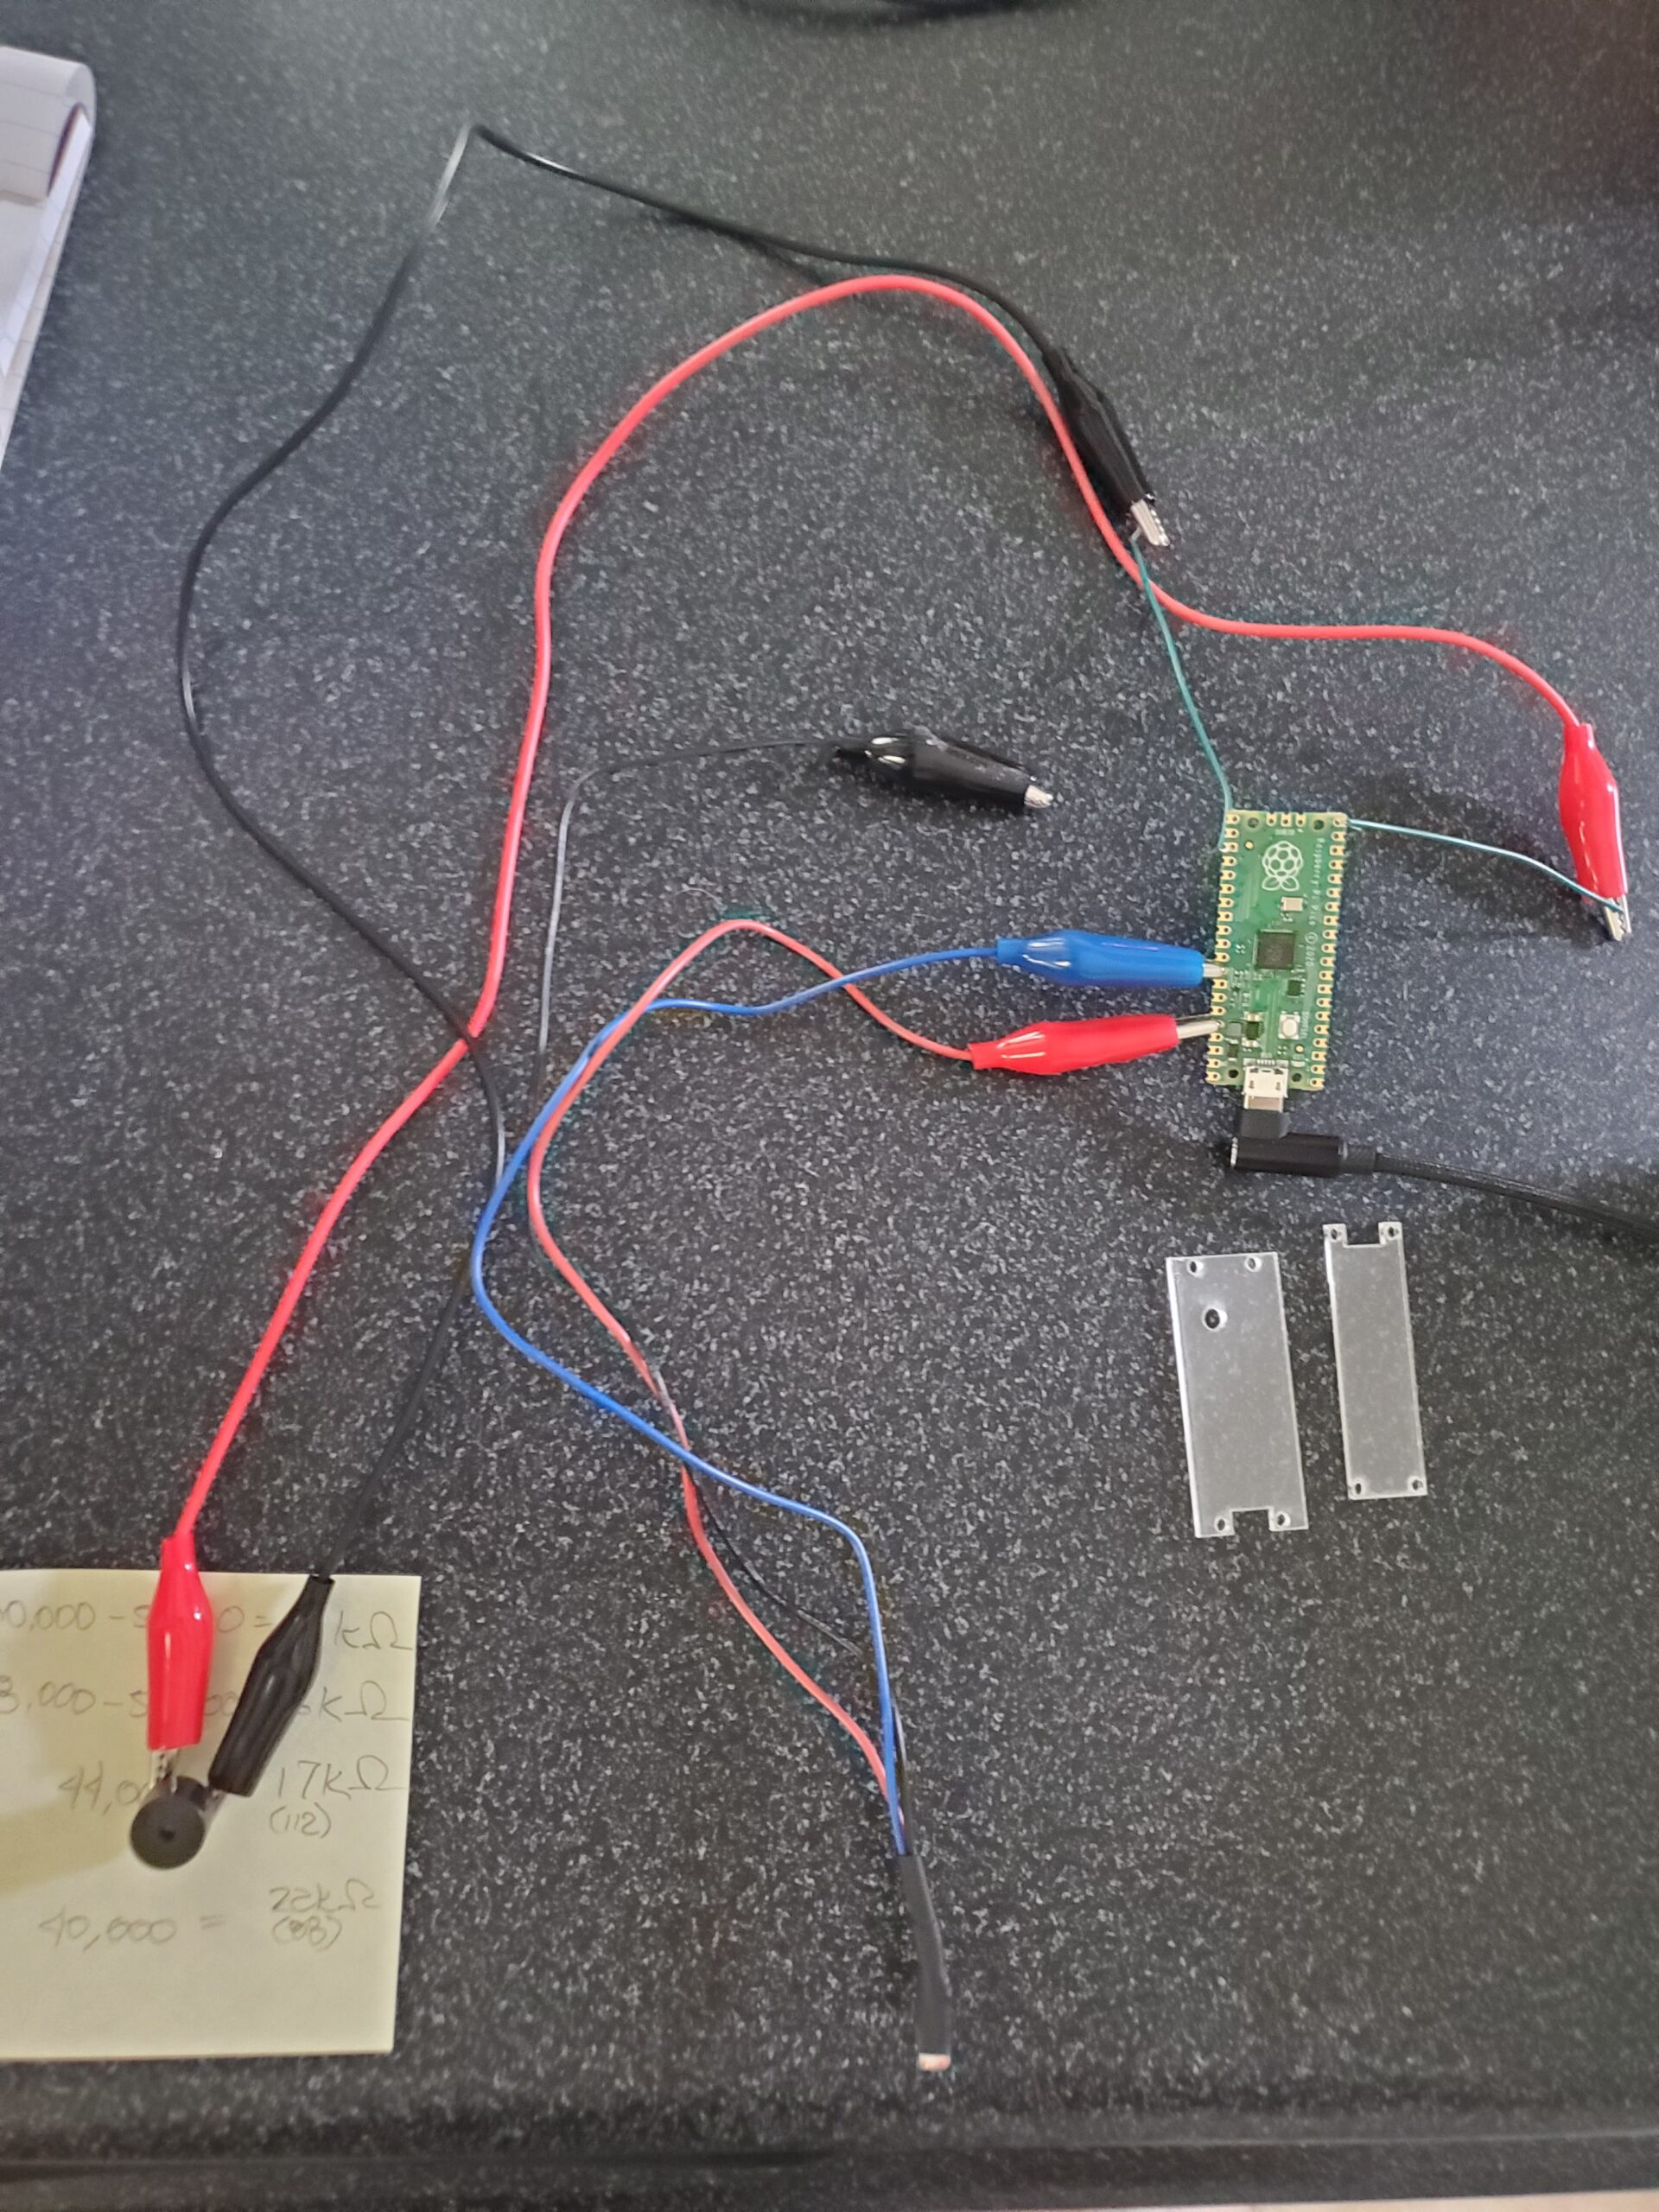
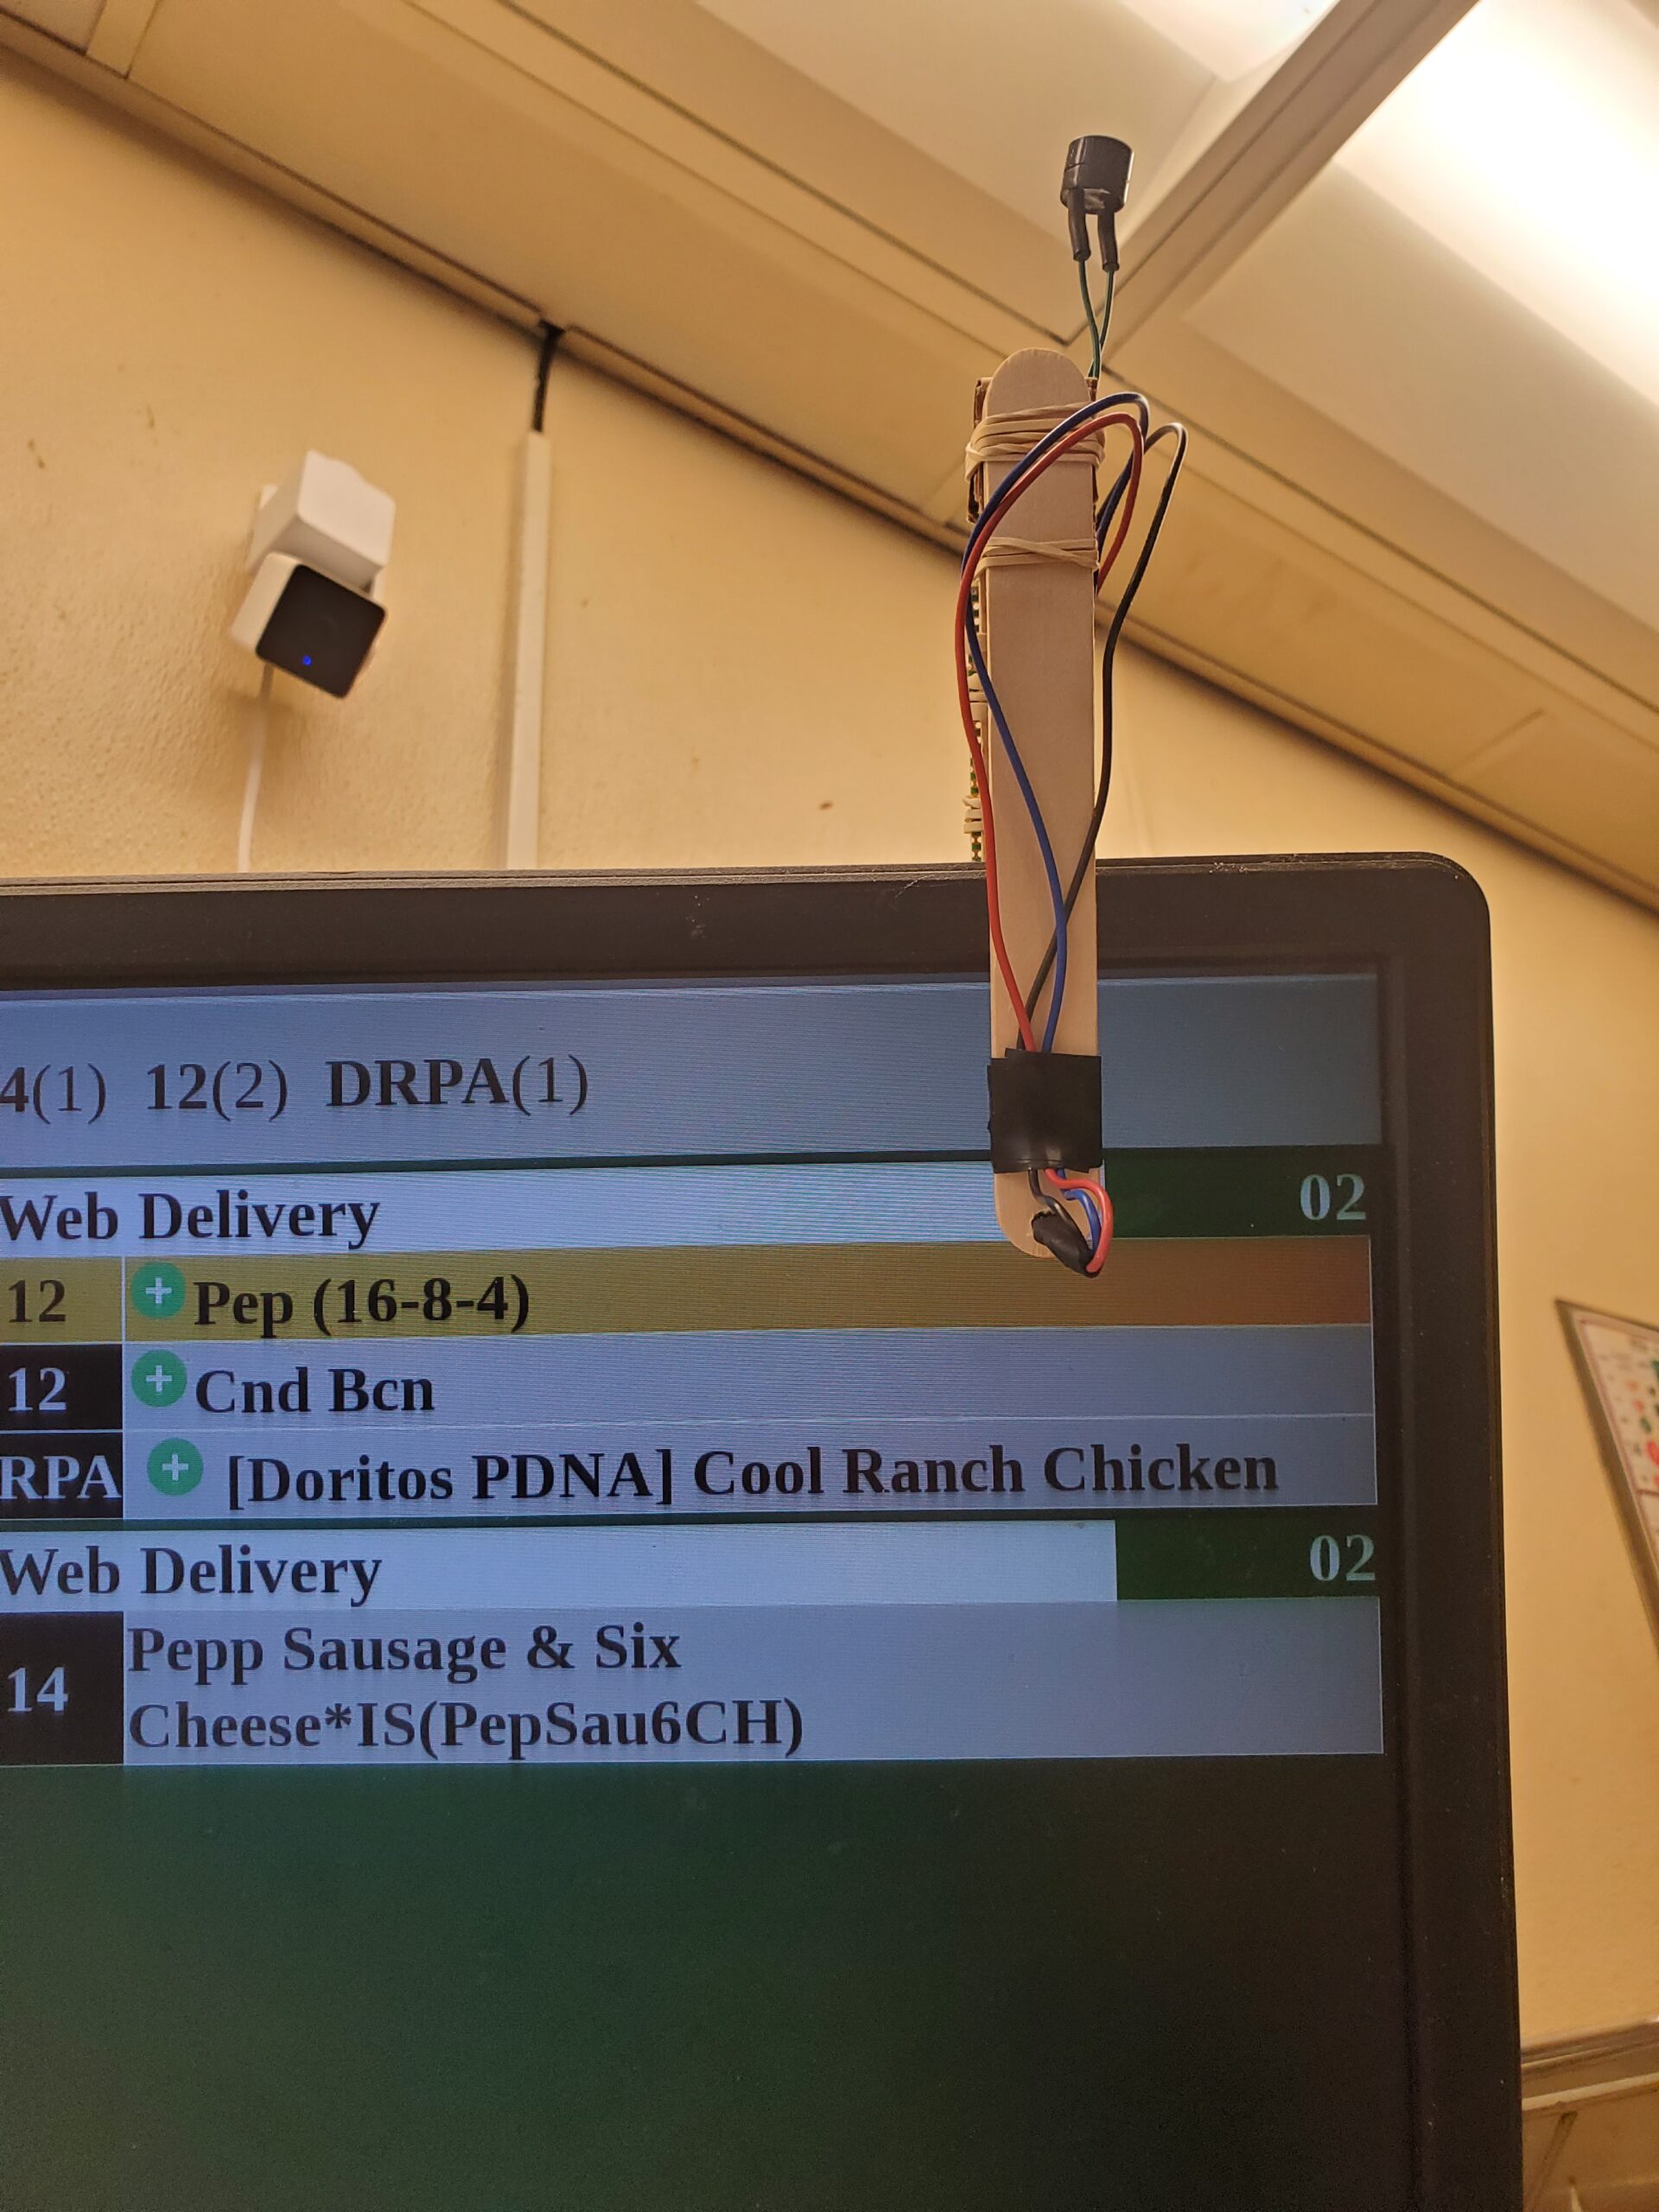
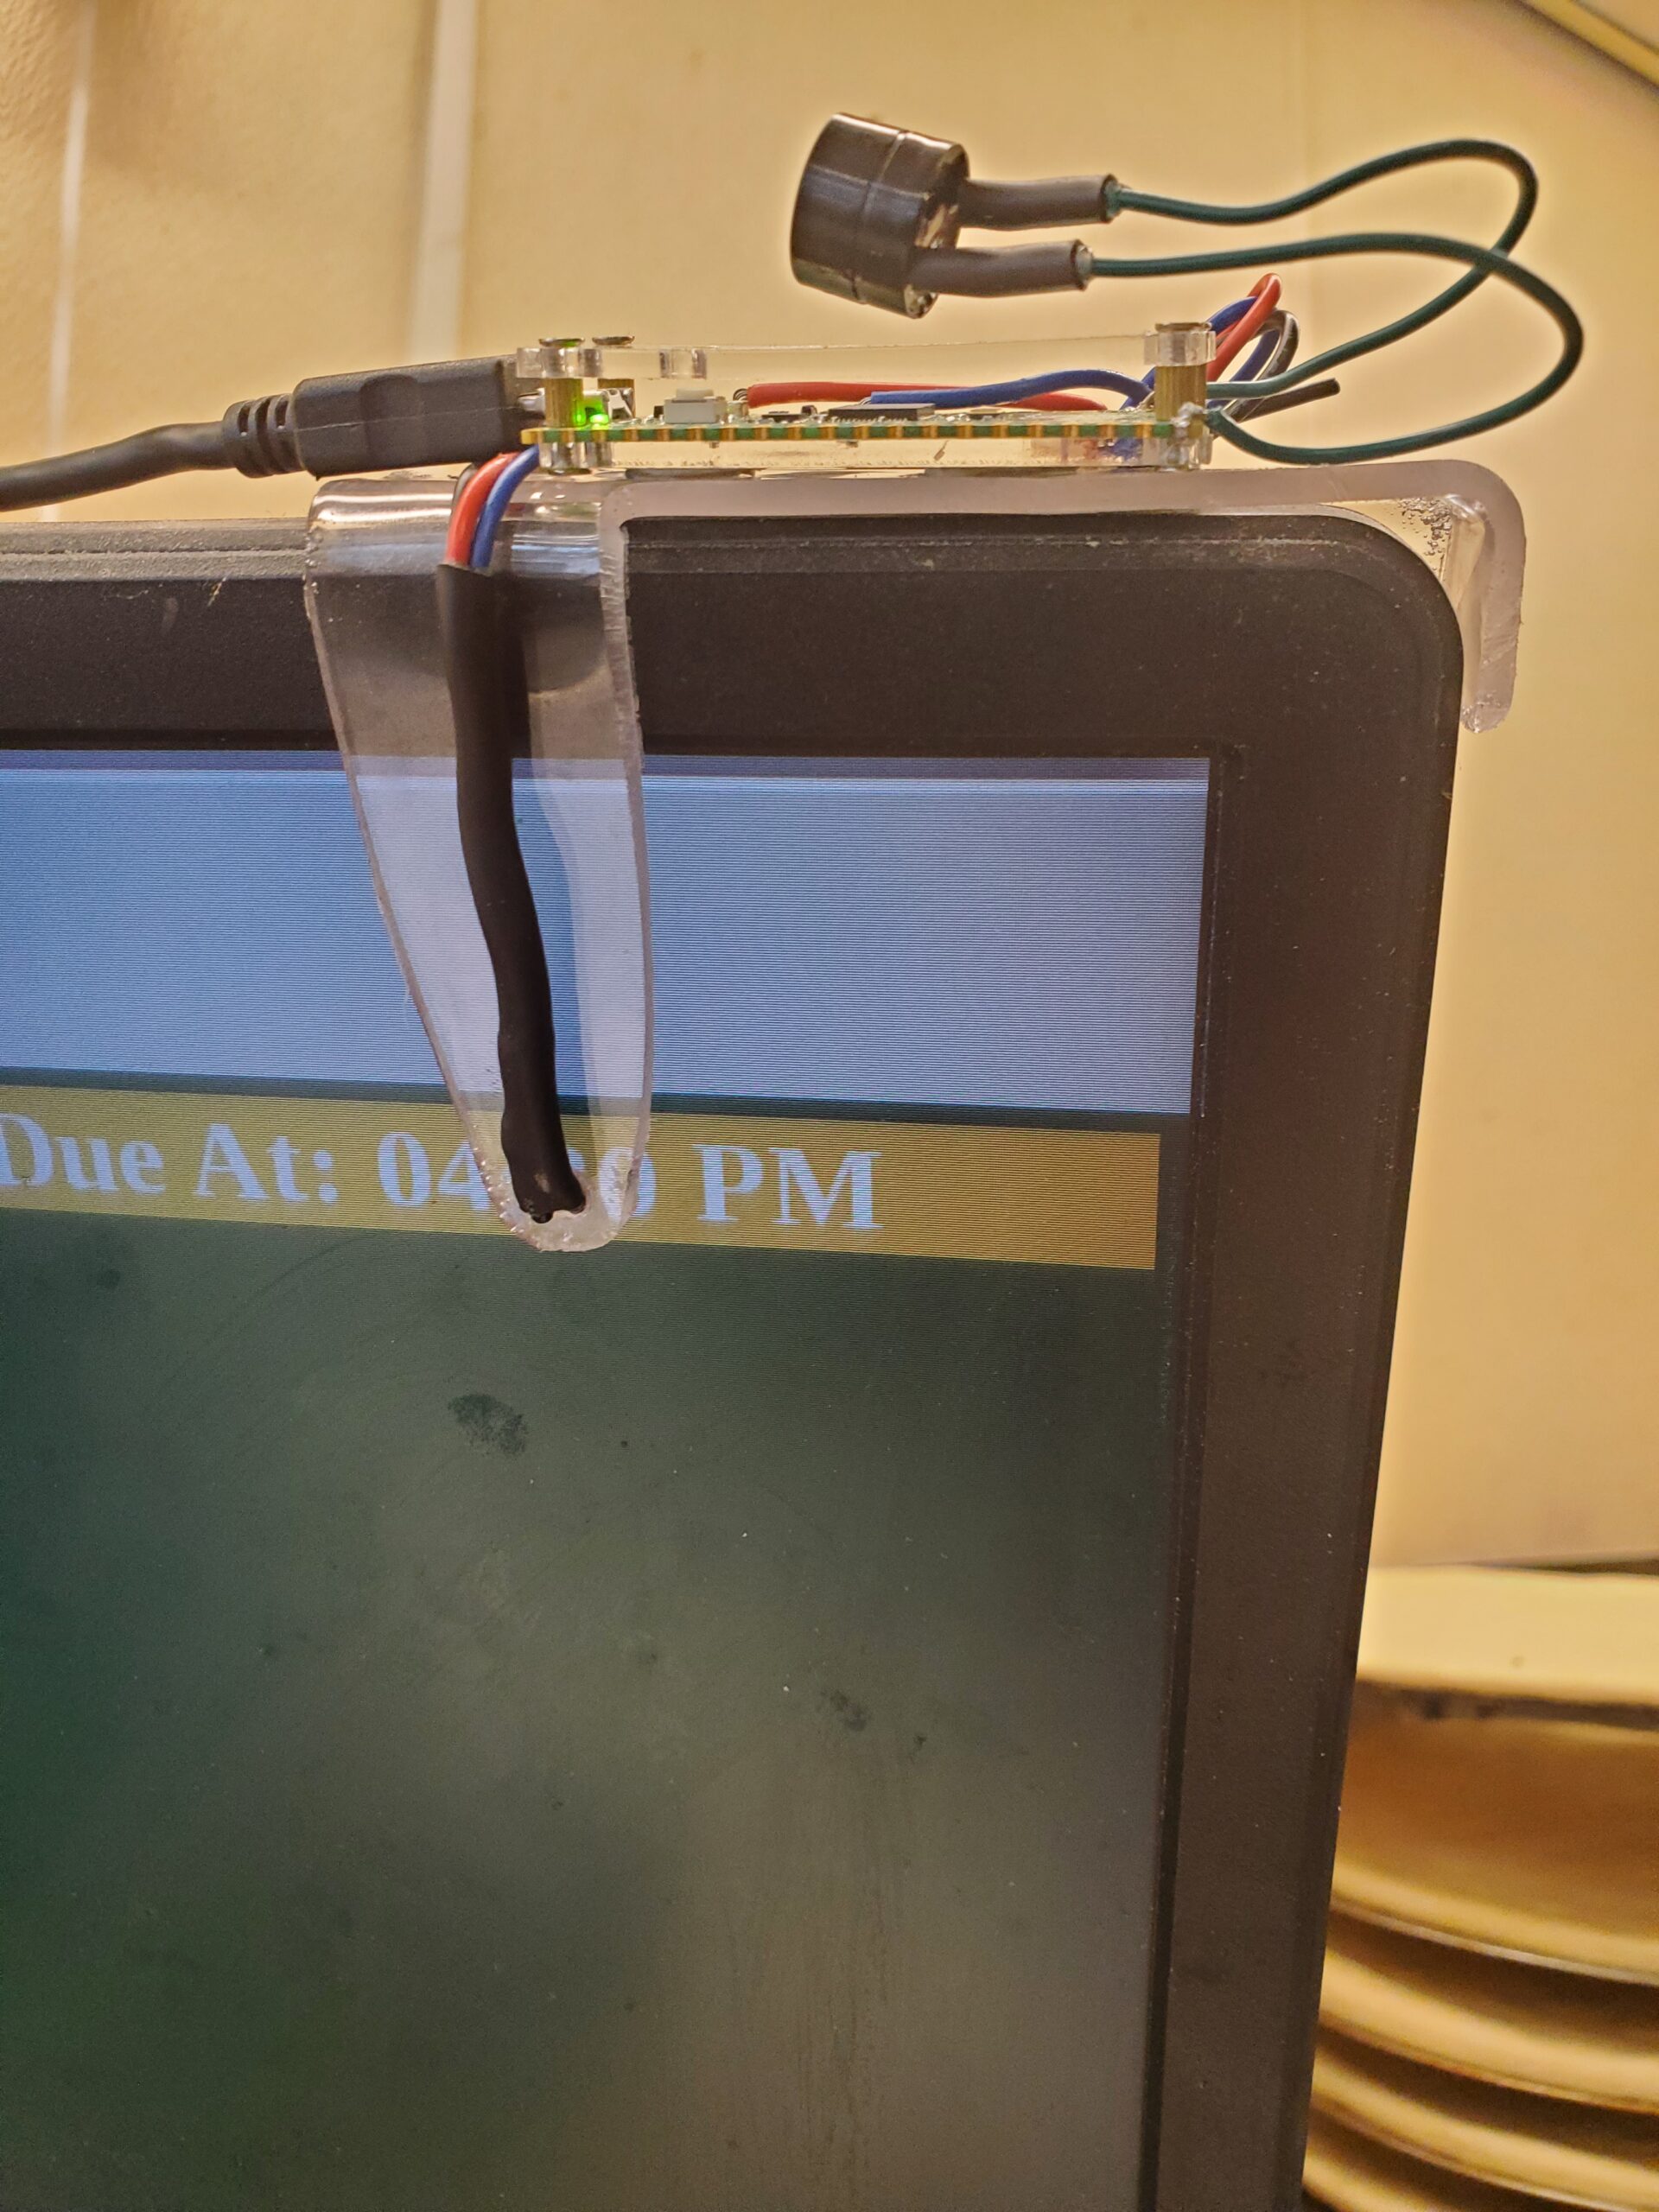
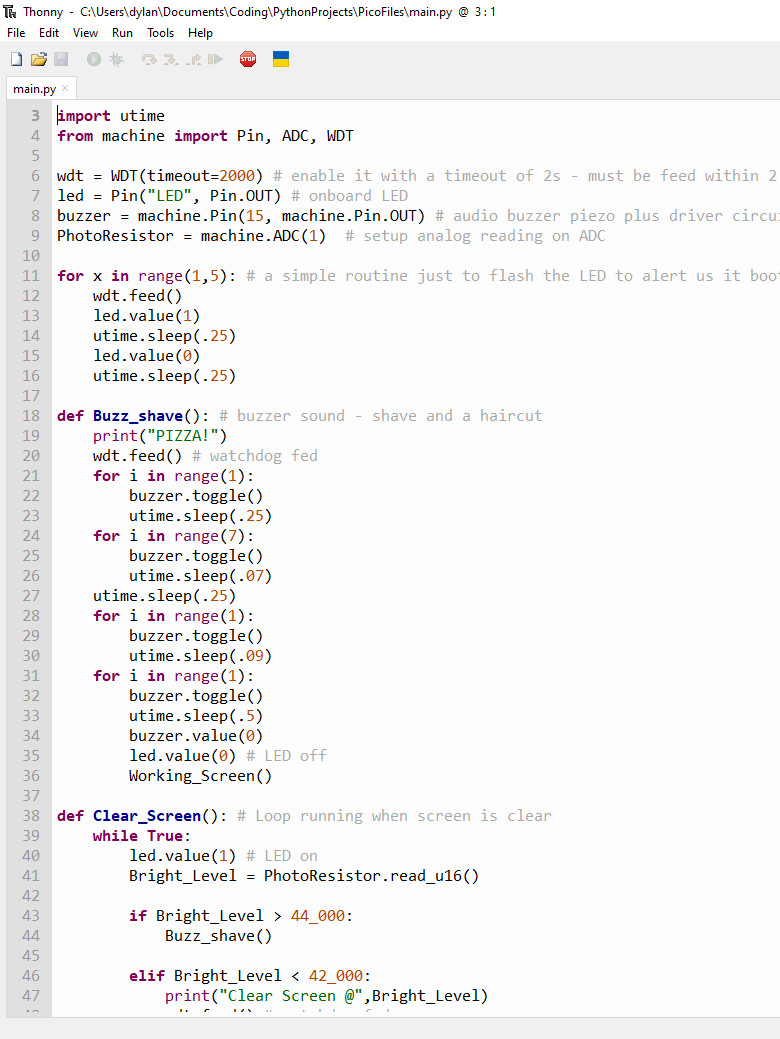
This project started out as a problem in need of a solution. My employer had a system that would populate fulfillment orders on a computer monitor, accompanied by an audible alarm for the first order on screen. On a regular basis this alarm would fail to go off when the initial order was populated. I had neither the access or system knowledge to troubleshoot the issue directly. So I came up with an idea that would substitute for the alarm and would not interfere with the primary system. This was my first attempt at ever using a micro controller, sensors or Python. It took some time and many iterations to achieve the desired goal, but I am very proud of the accomplishments made from this project. Eventually I’d like to explore other ways to signal to the user of an incoming order.
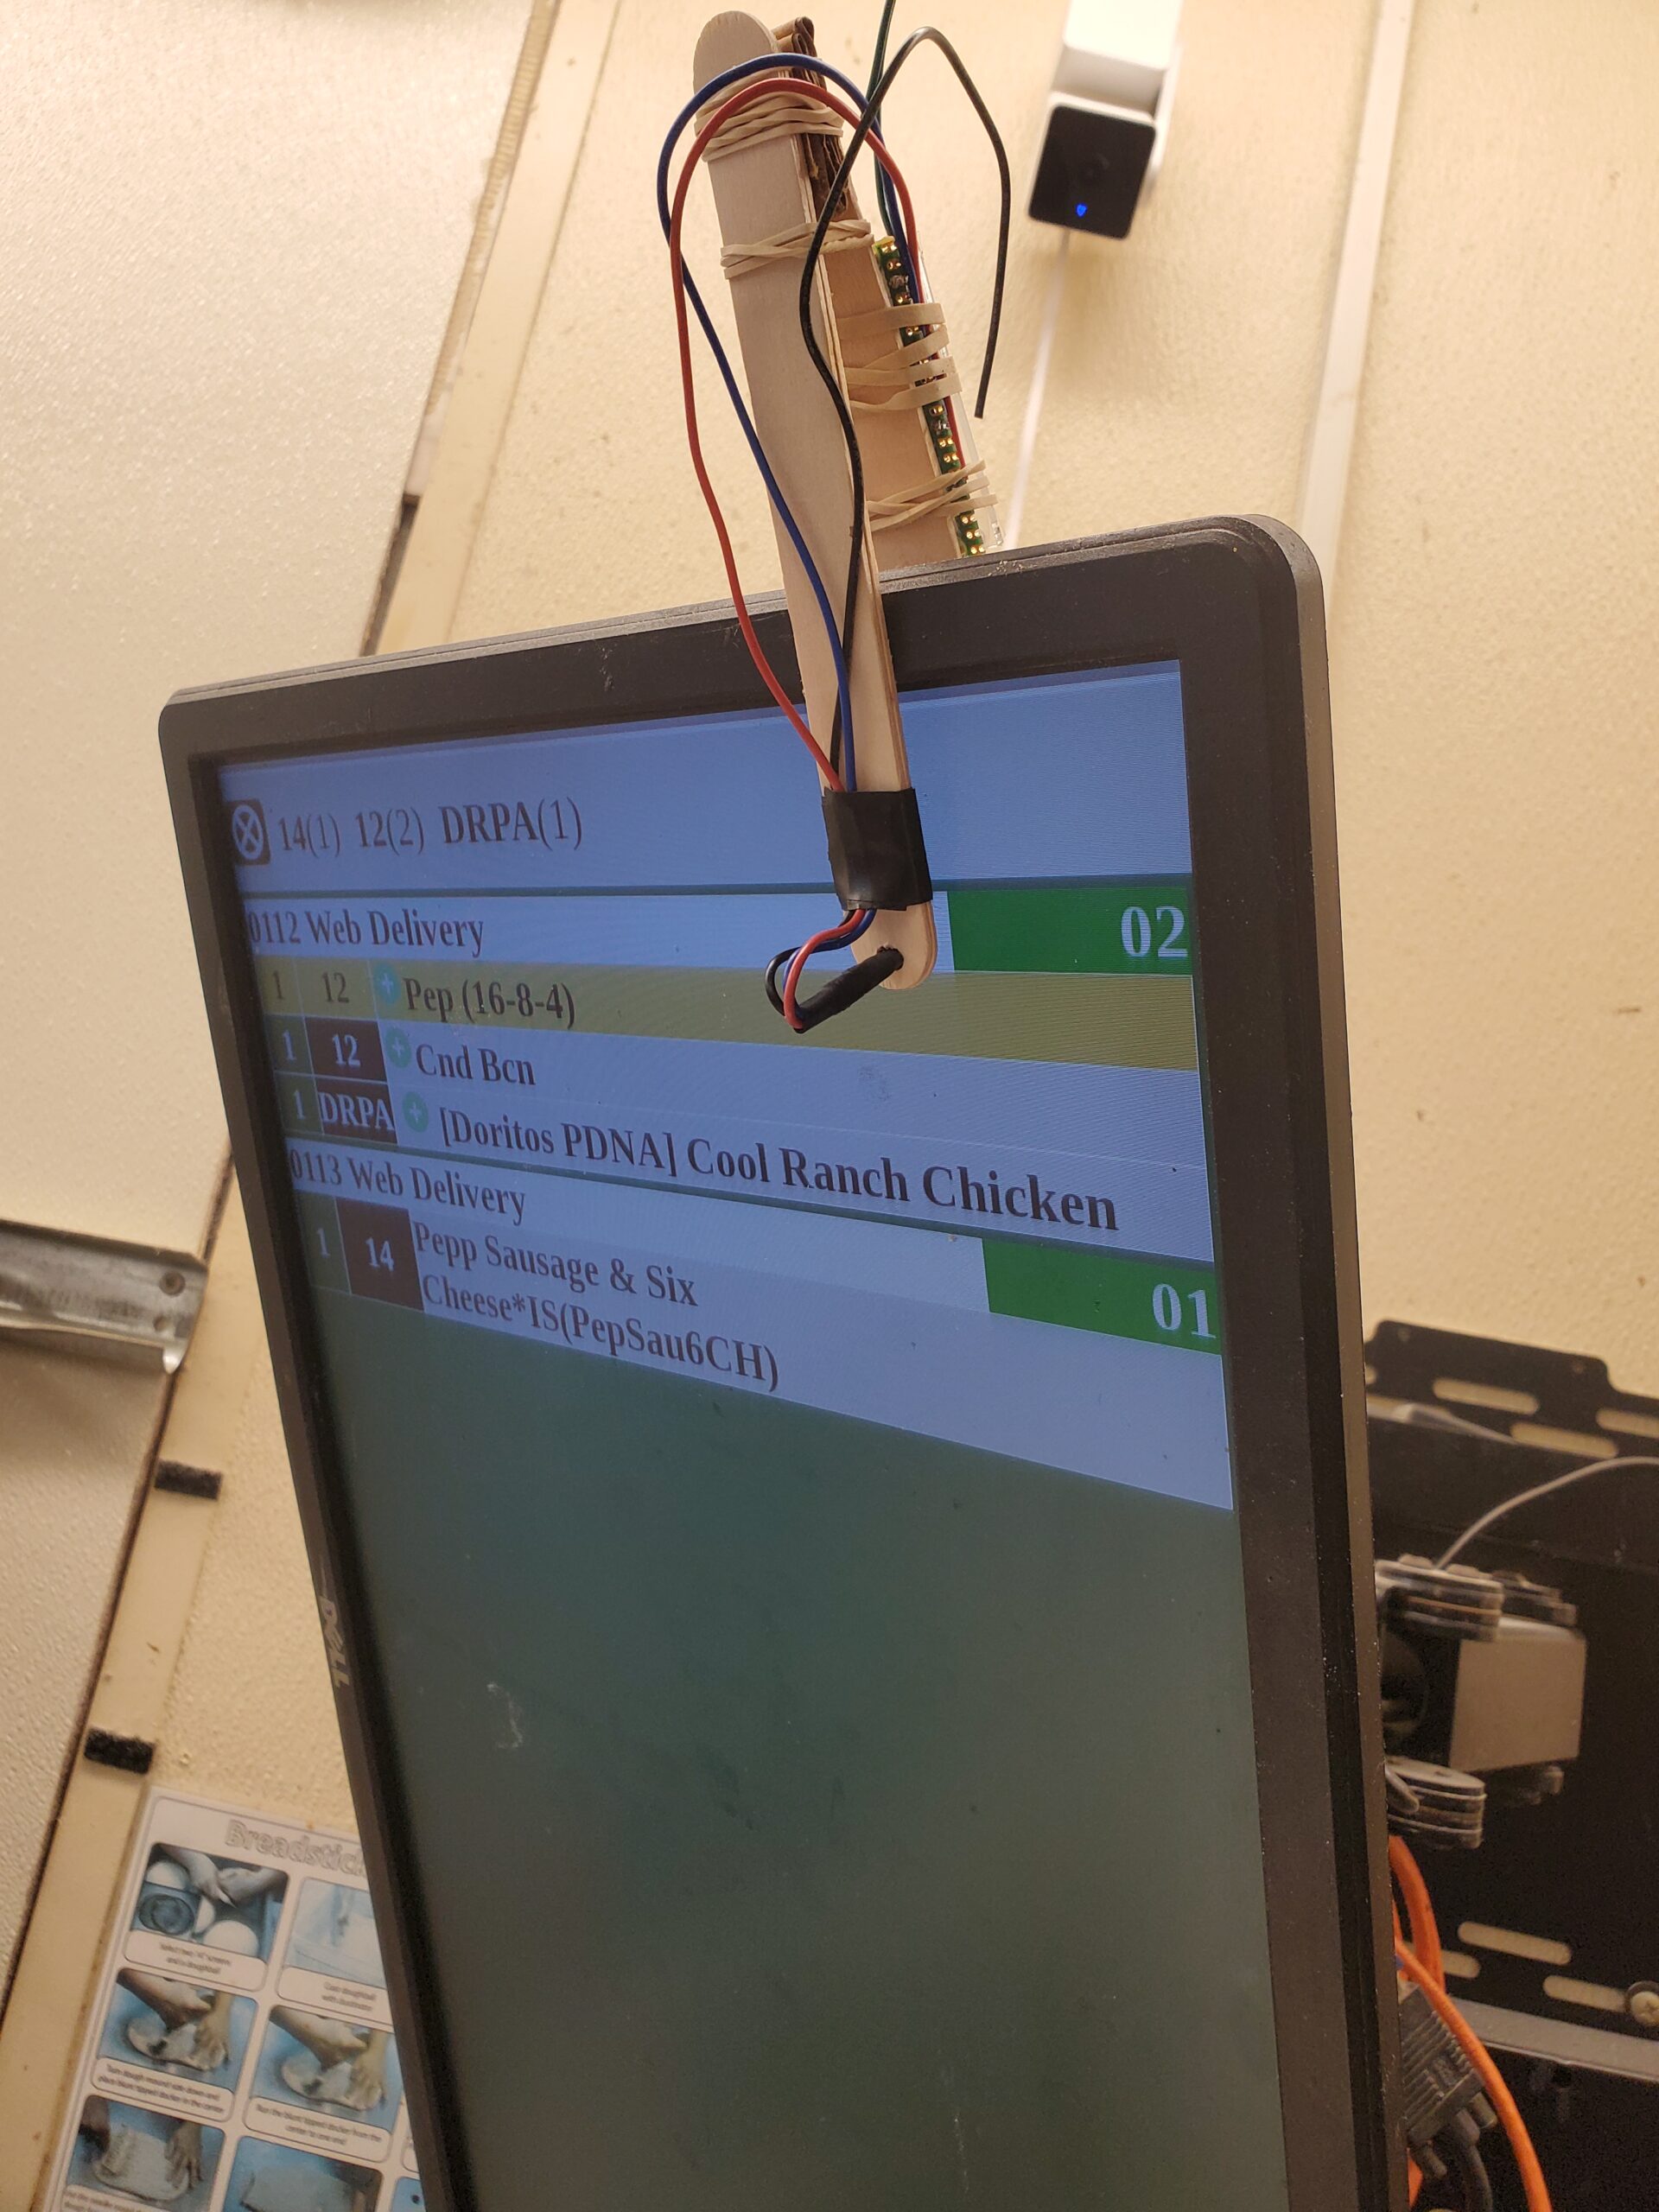
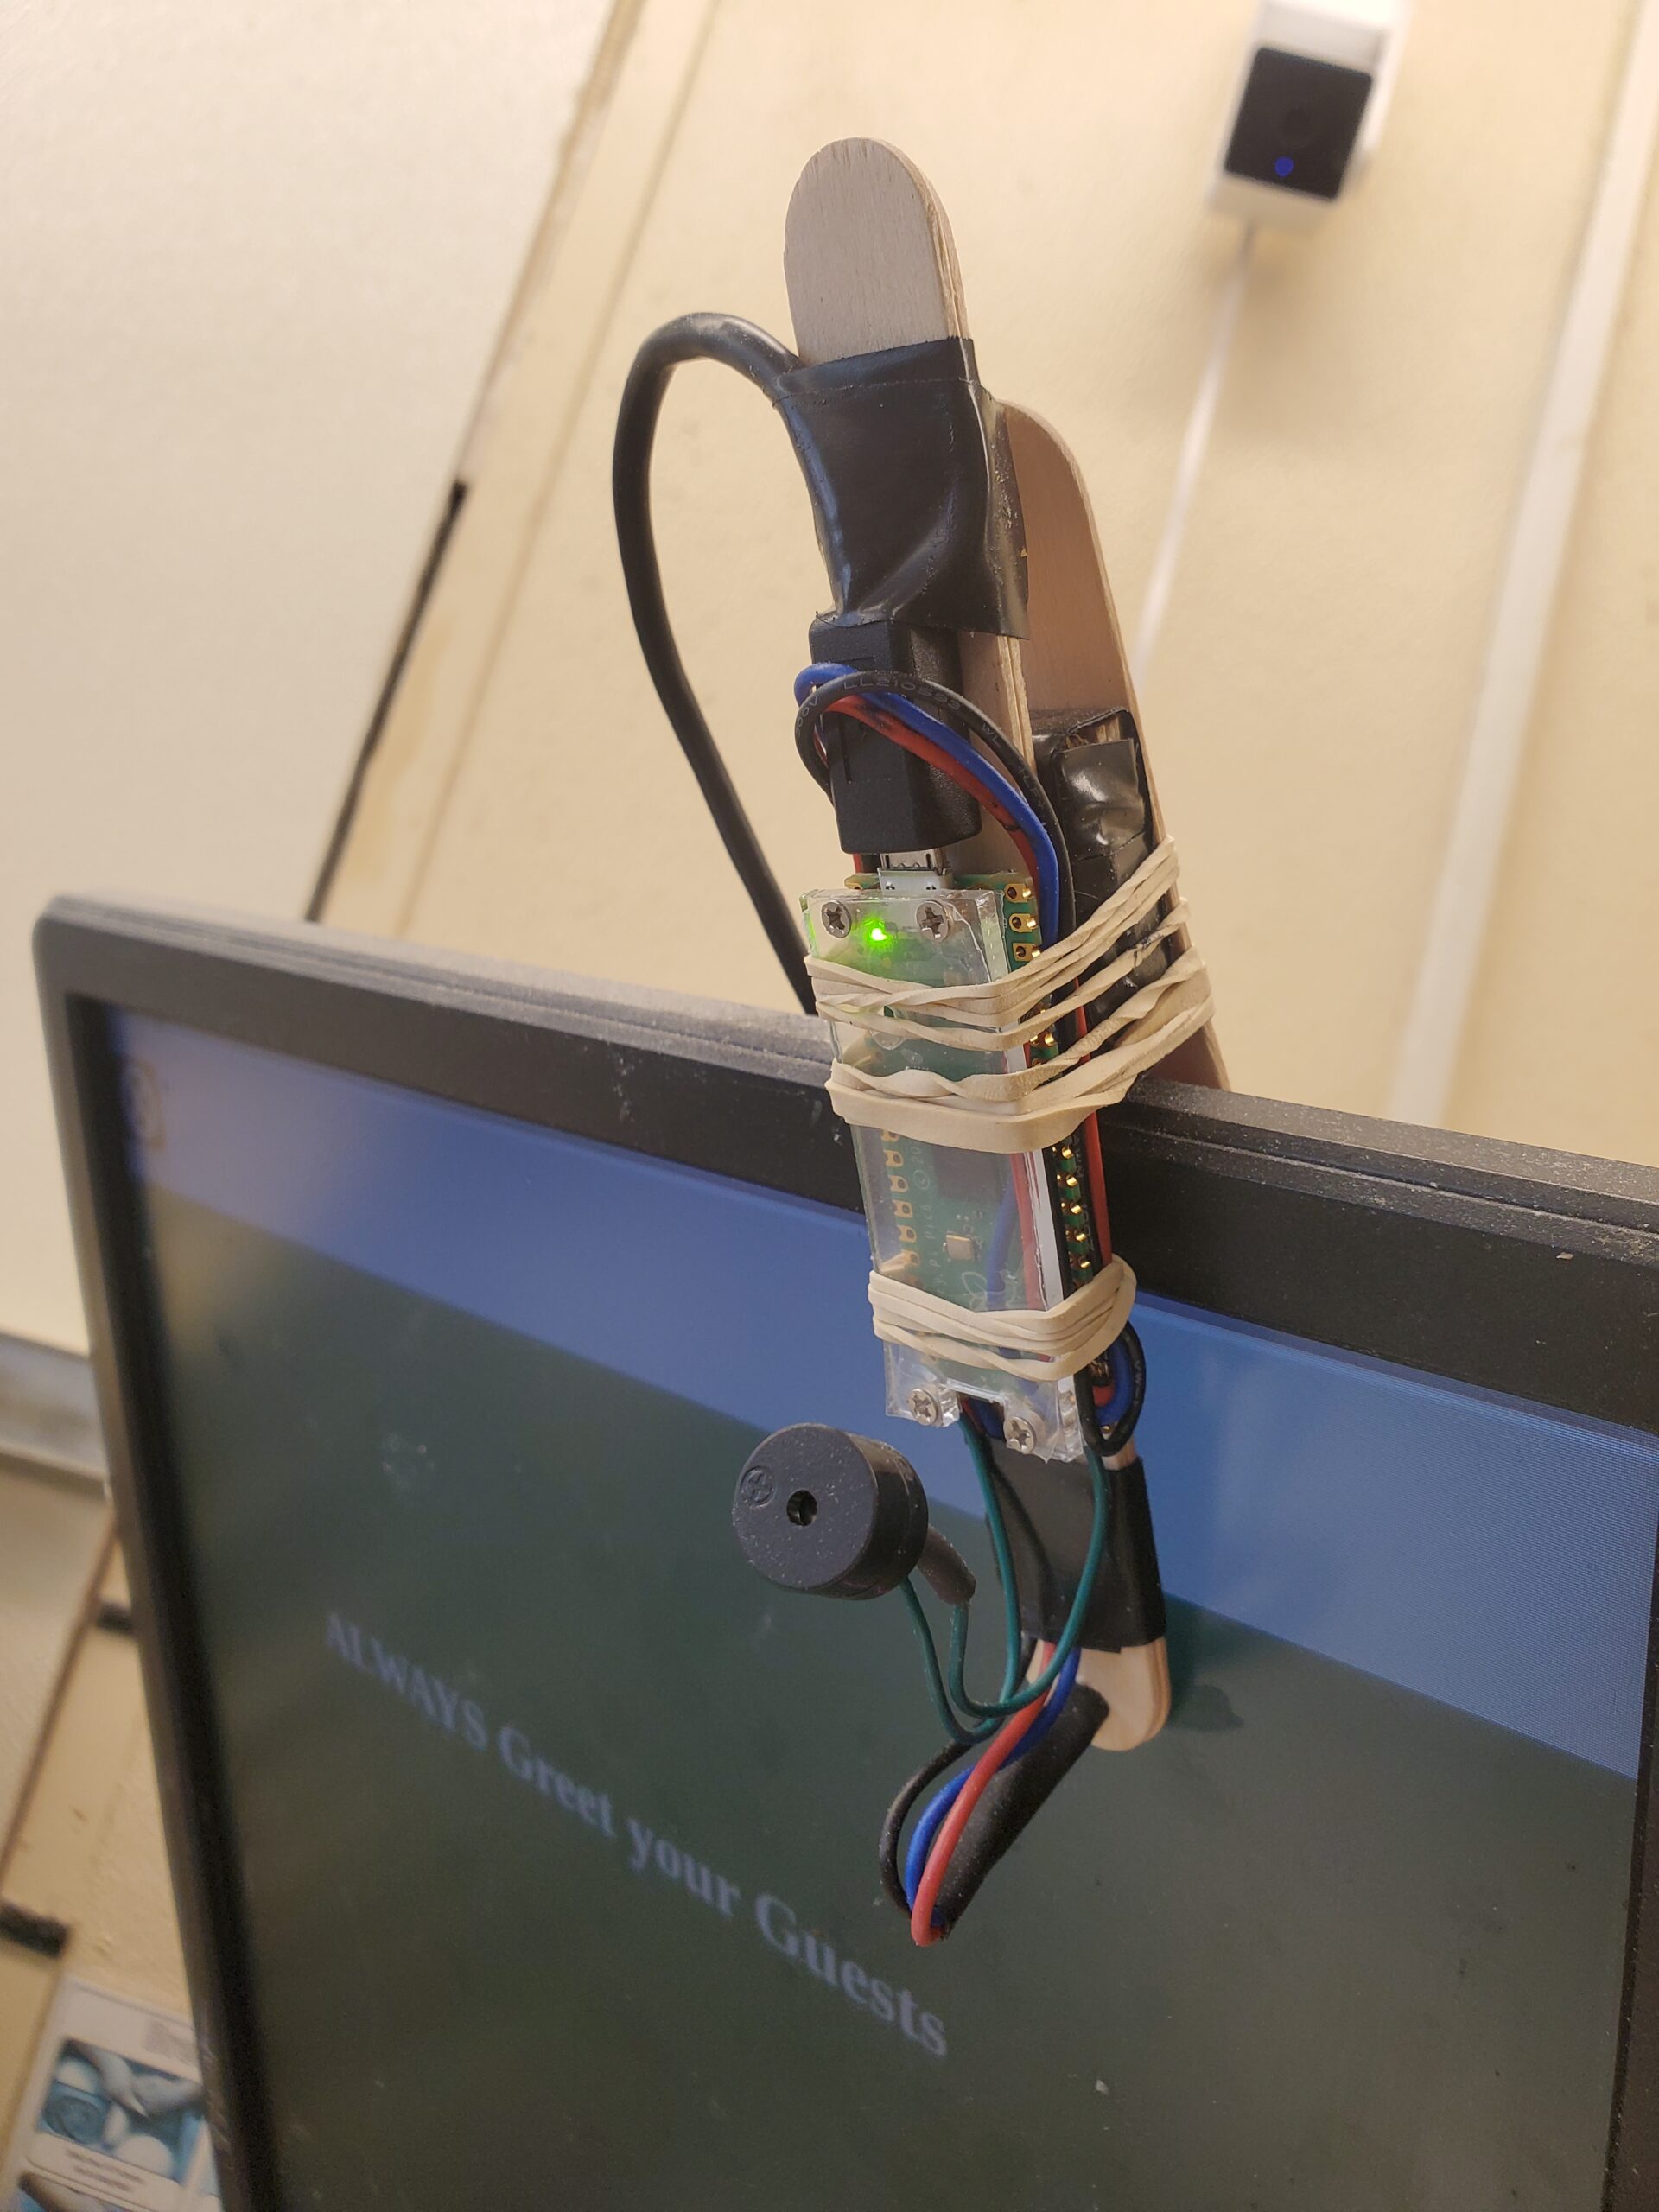
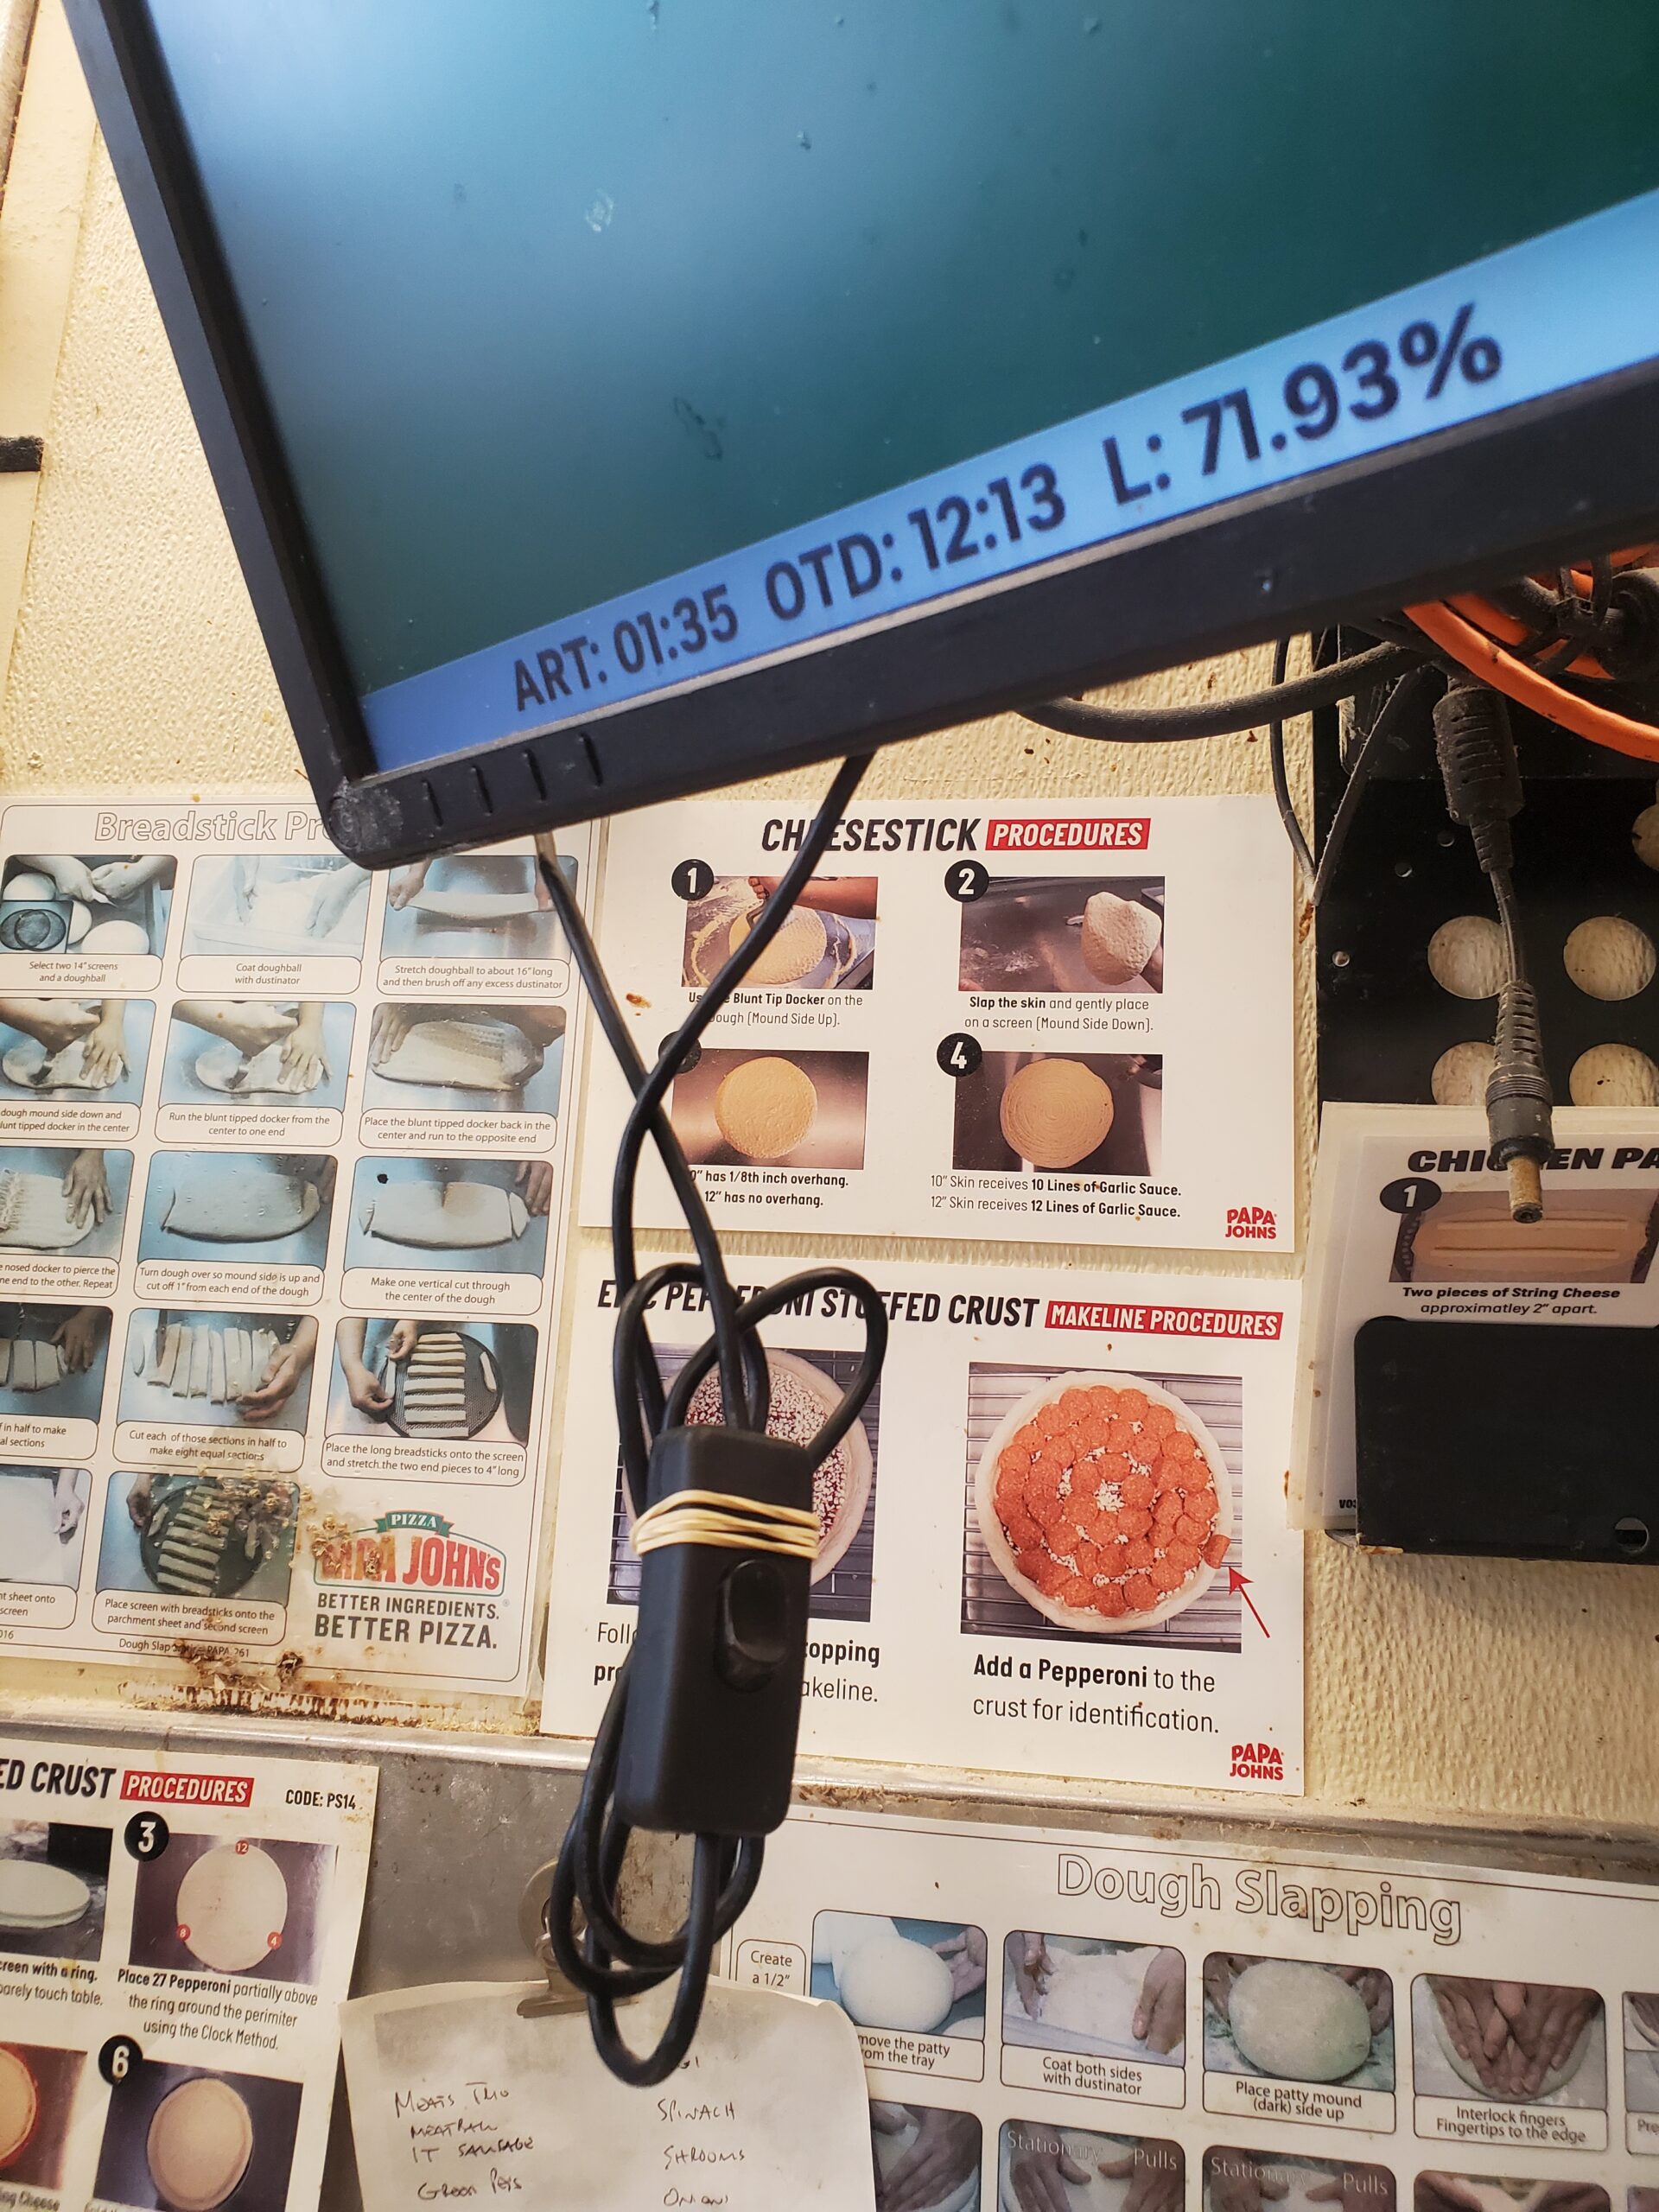
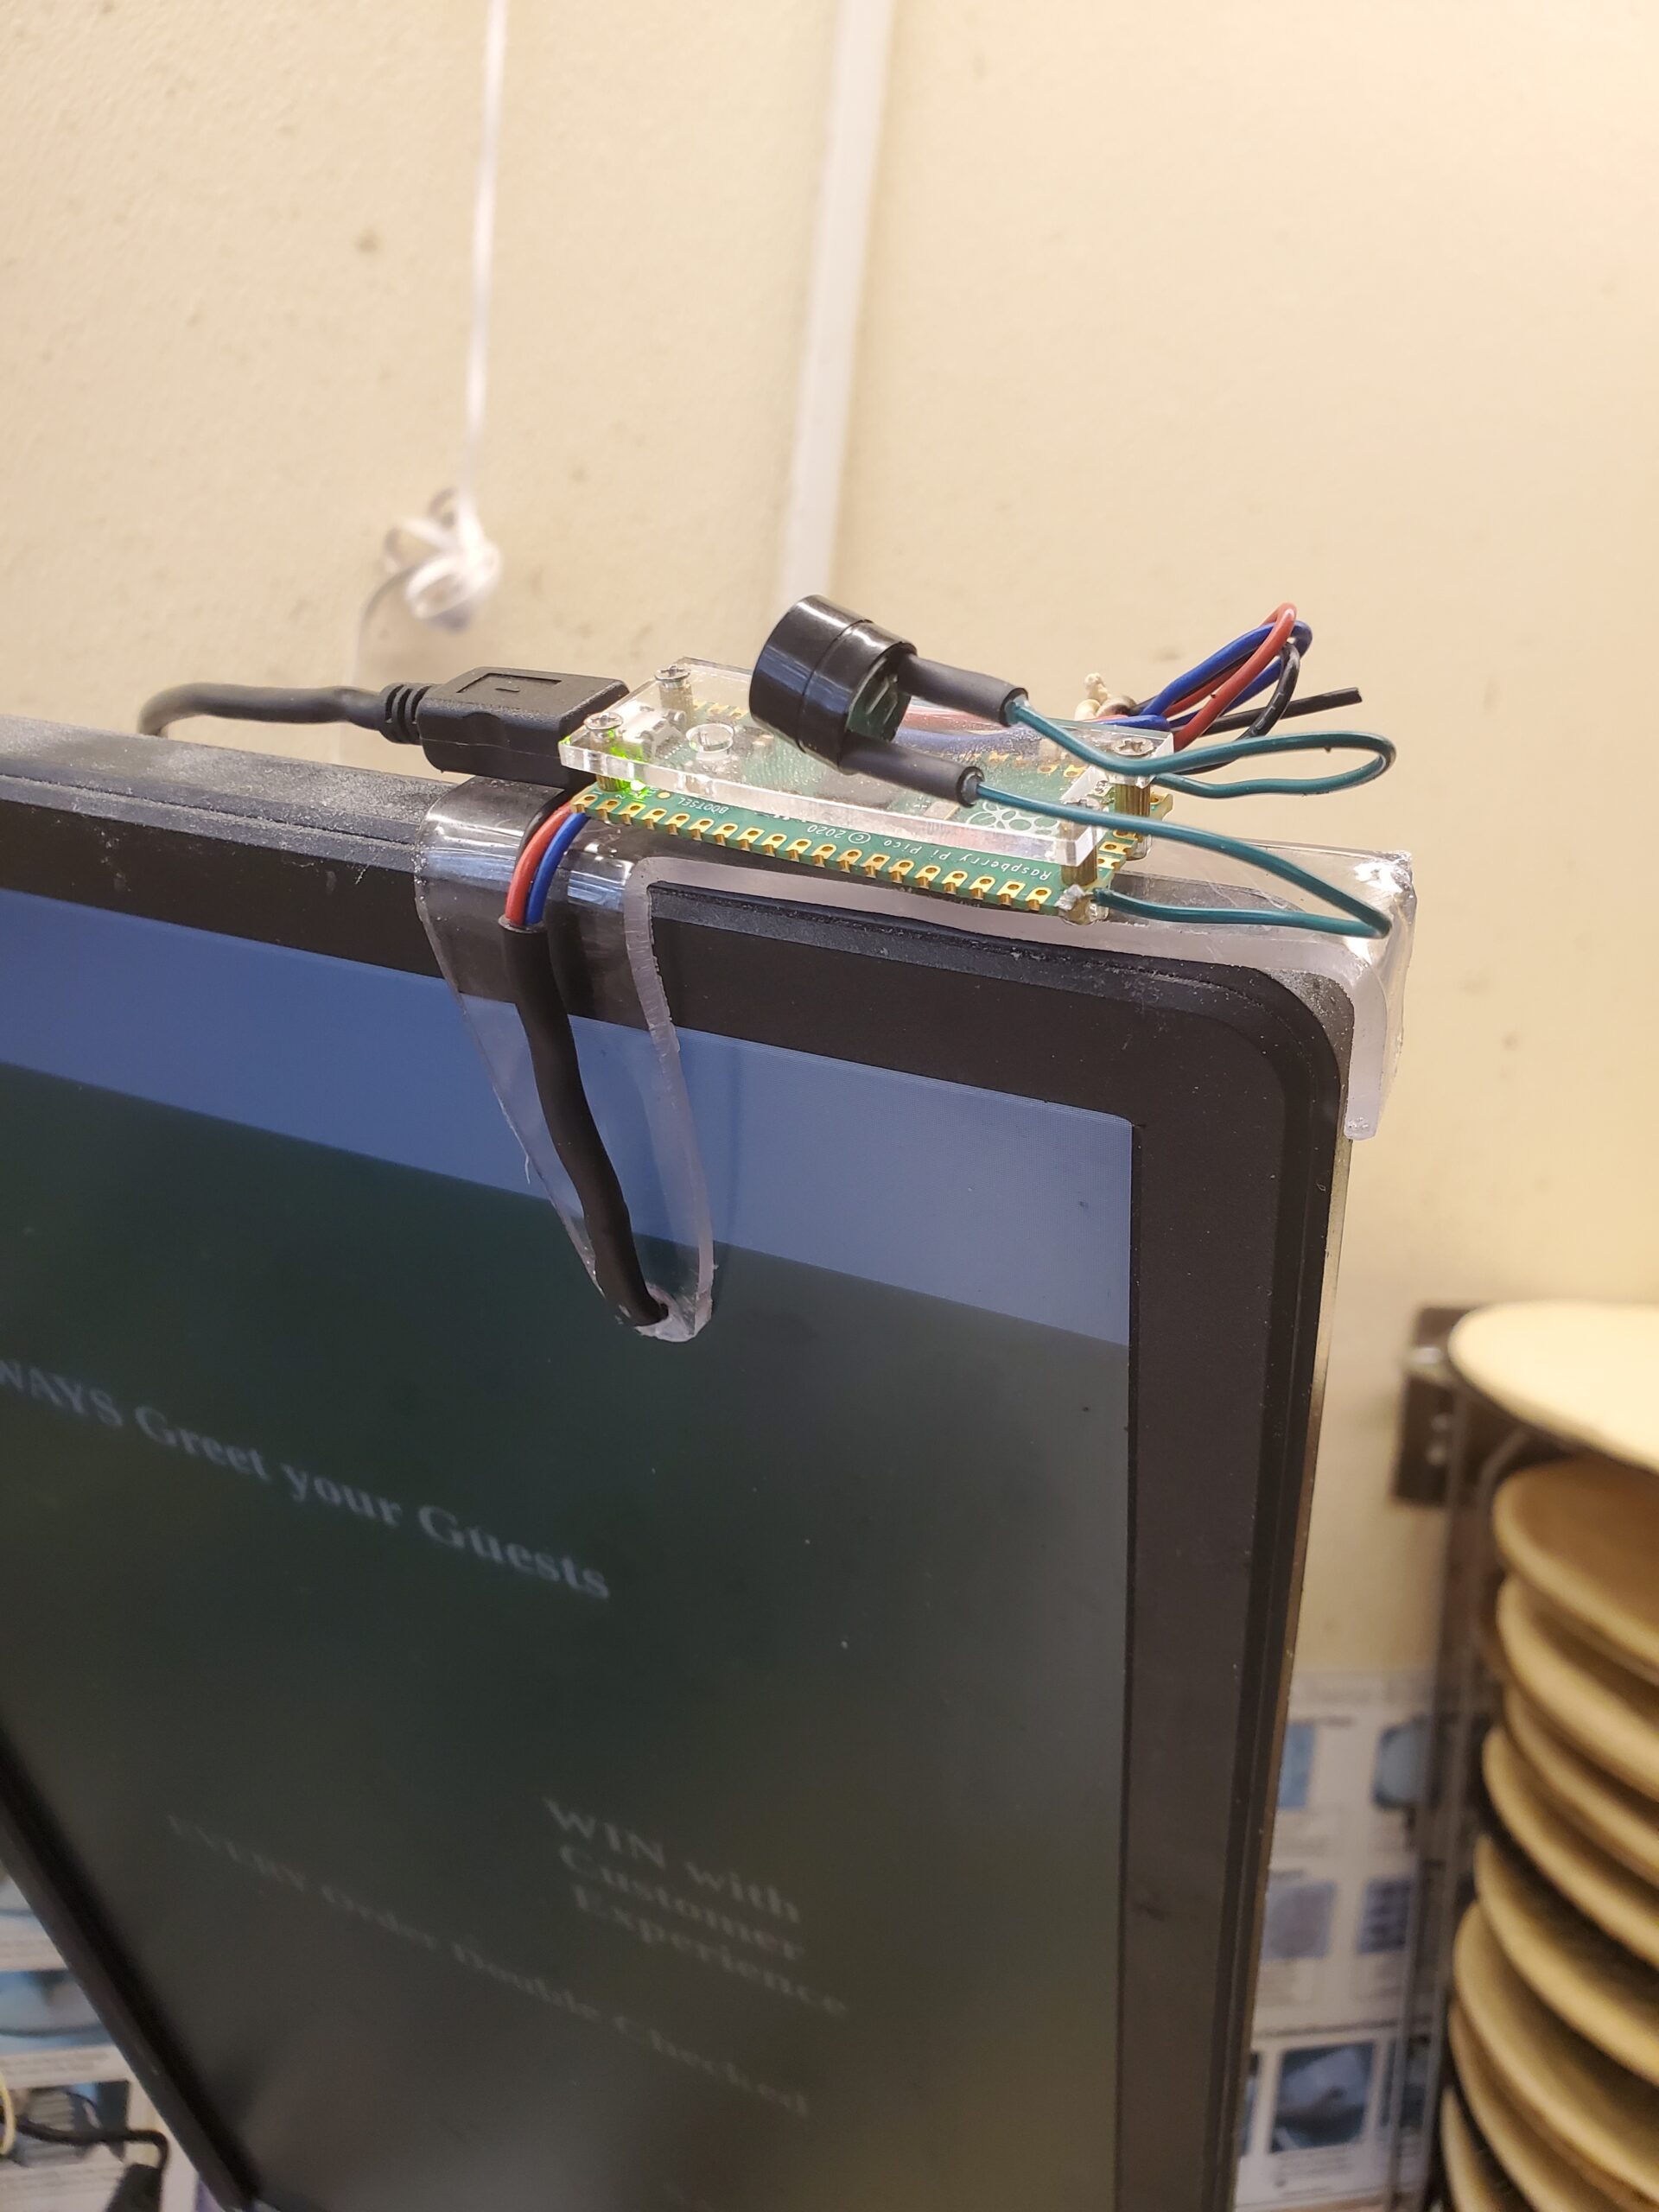
Components
Raspberry Pi Pico
LDR (Light-dependent Resistor) Sensor
Piezoelectric Buzzer 5V 2KHz
Micro-USB cable w/ Rocker Switch
Pi Pico Acrylic Case Handmade Lexan Mounting Bracket
Skills
Python Programming
Troubleshooting
Soldering
Polycarbonate Fabrication
References
Raspberry Pi Pico Documentation
Raspberry Pi Light Sensor: A Simple LDR Tutorial
Make Annoying Sounds With a PICO and This Buzzer
How to use the PICO Watchdog Timer
My first PC Build
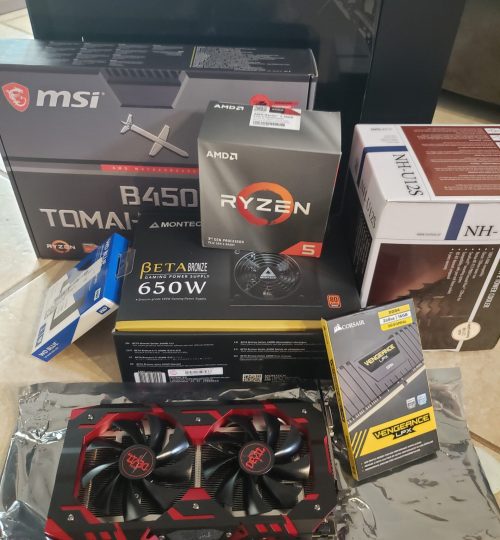
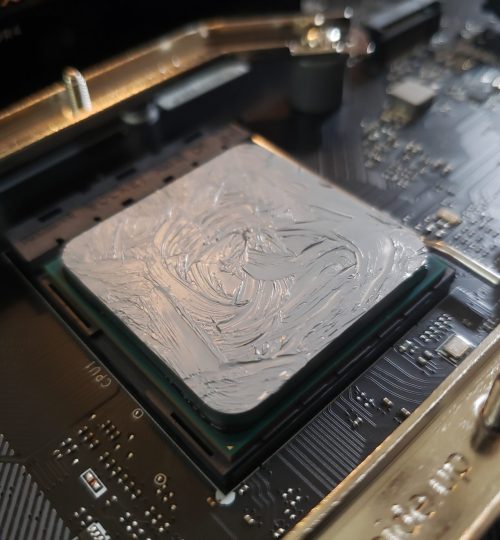
For the longest time I only considered “off the shelf” consumer machines for all my computing needs. Eventually my curiosity and eagerness to learn led me to building my first personal computer. I didn’t have much money and wasn’t looking to build anything crazy, so I settled on a straight forward budget friendly build.
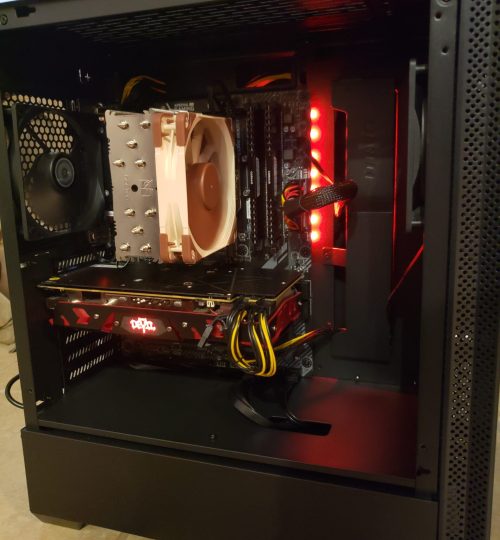
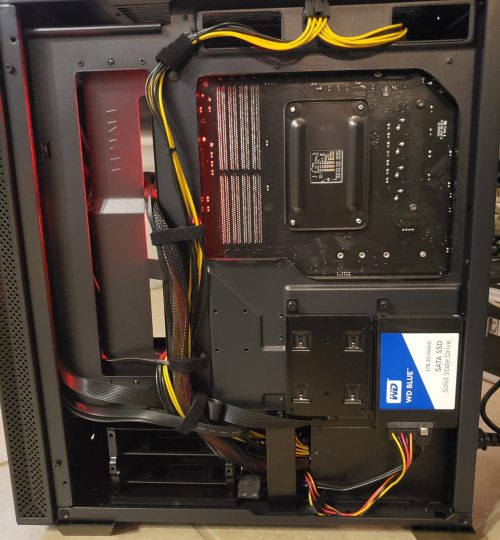
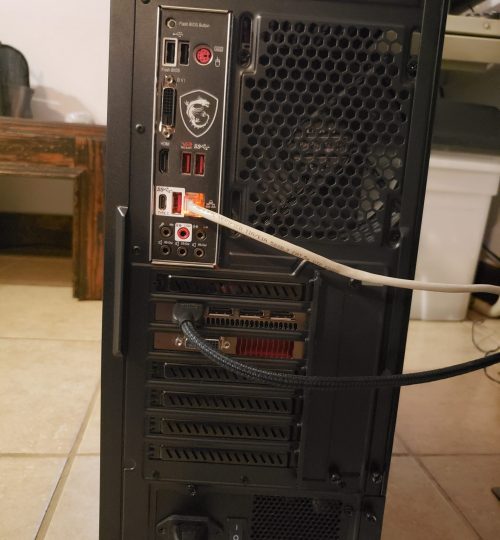
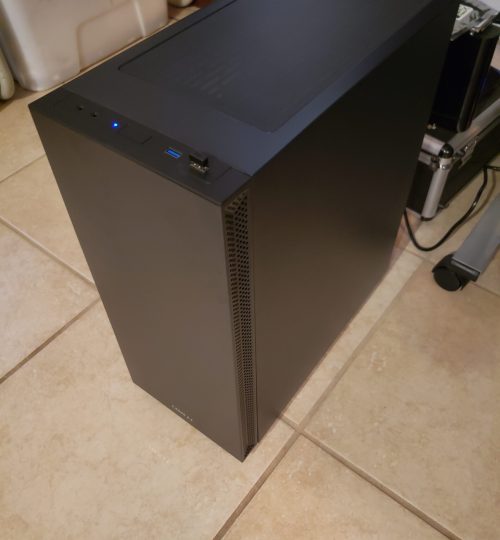
Components
AMD Ryzen 5 3600 6-Core Processor
MSi B450 Tomahawk Max Motherboard
PowerColor Radeon RX 580 8GB GPU
Corsair Vengeance LPX 8GB RAM (x2)
WD Blue 1TB SSD
Noctua NH-U12S
Montech Beta 650 Bronze PSU
LIAN LI Mid-Tower Chassis ATX
Skills
Research
Reasoning
Basic Hardware Assembly
Hand Tools
Power Calculation
References
Common PC Building Mistakes that Beginners Make!
Intel vs AMD: Which CPU platform is the best right now? | Ask a PC expert
Best $800 Gaming PC Build Guide – GTX 1660 SUPER Ryzen 5 3600 (w/ Benchmarks)
Best Way to Apply Thermal Paste? Does it Even Matter?
Case Fans – How many should you have?
Will More RAM Make your PC Faster?? (2020)
DIY Pi-NAS
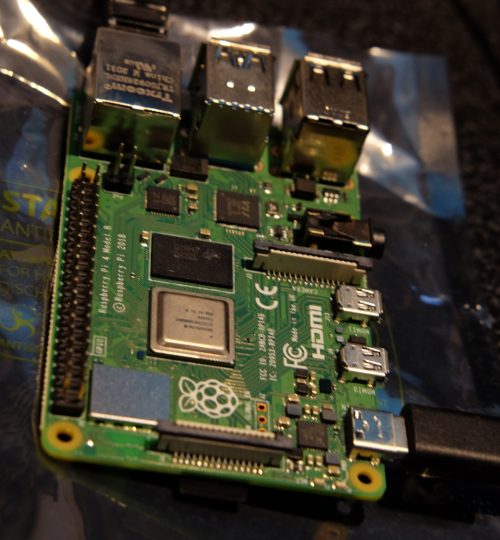
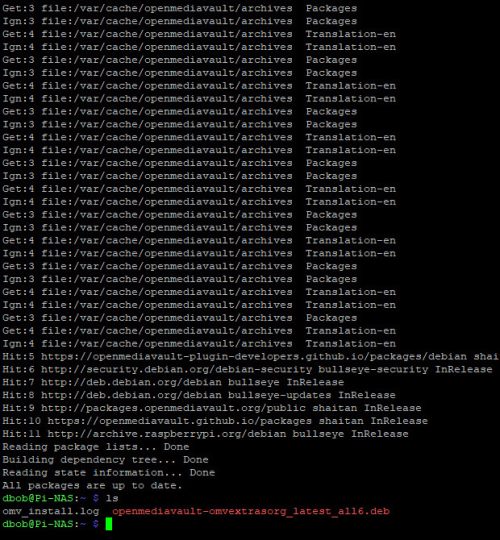
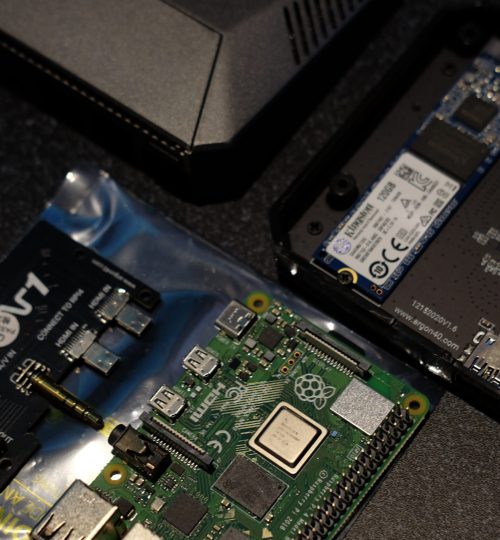
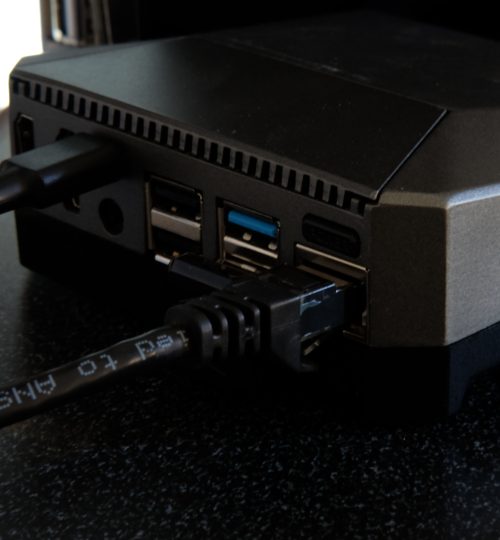
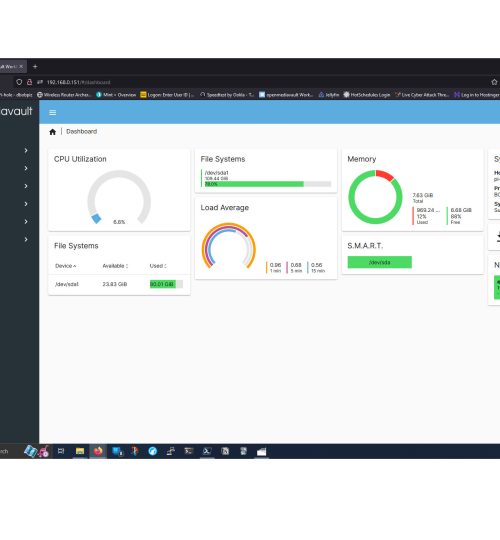
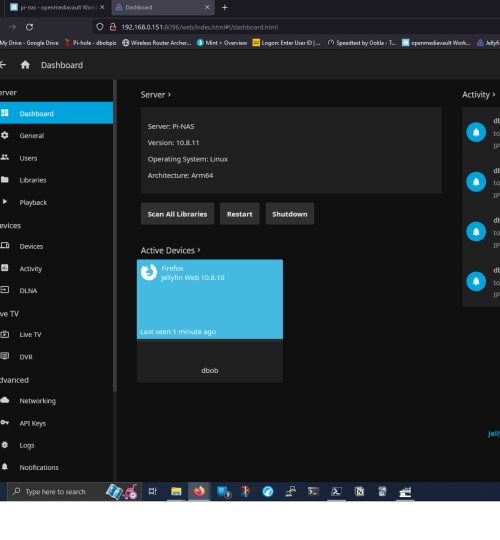
Just like MY First PC Build, I had little money and wanted to learn something about Network Attached Storage technology in the process. I stumbled upon a great YouTube video that was the perfect size and fit for this project. I installed openmediavault and JellyFin on a Raspberry Pi 4 and enclosed it in the Argon One M.2 case. The Argon case provides active cooling, general protection, and most of all, support for an M.2 SATA SSD. While this NAS can’t really compete with more expensive solutions, it was a great learning experience and functions just fine for my minimal media server needs.
Components
Raspberry Pi 4 Model B
Kingston 32GB Micro SD card
Argon ONE M.2 case
Kingston 120GB SSD M.2
Skills
Linux Command Line
Basic Hardware Assembly
Mapping Shared Drives
IP Reservations
References
how to build a Raspberry Pi NAS (it’s AWESOME!!)
Jellyfin Media Server Setup for Openmediavault
My First Web Site
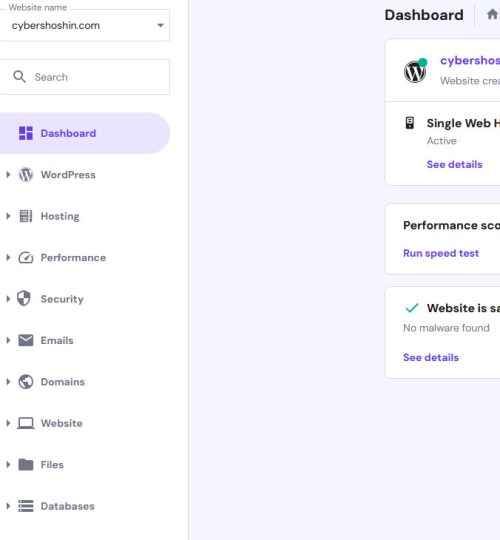
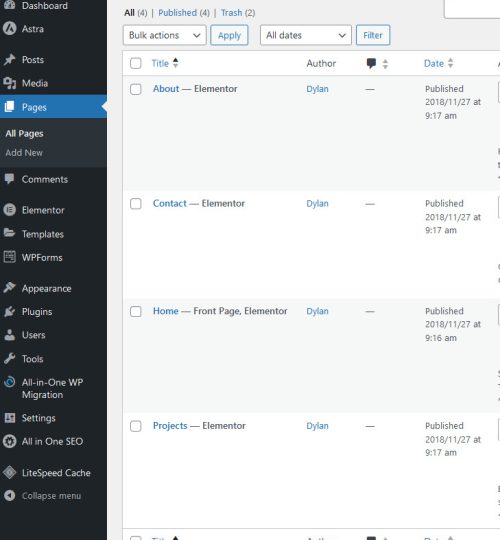
This web site was a project goal I set for myself a few years back. I initially started learning HTML and CSS, but I eventually opted for a more efficient approach using WordPress. I started, stopped, deleted and restarted this project many times. It’s still a work in progress; two steps forward and one step back. Every few weeks I review the site. This often leads to improving the navigation, or inspires me to incorporate additional information/projects. I would not consider myself a professional web designer, but I am proud to say I have a web site!


Components
A Web Host
A Domain
WordPress
Skills
Basic Web Design & Layout
Written Communication
Documentation
References
you need a website RIGHT NOW!! (create a website for FREE)
How to Properly Layout A Website (For Beginners)
So what does the future hold…
In The Works
Python Coding
I’ve just started learning Python and I can’t wait to take a deep dive into this (my first) programming language.
Windows/Linux Terminal
With the completion of my A+ certification came a basic understanding of terminal, but this is only the tip of the iceberg. Next step, full immersion.
CompTIA Network+
Every day I chip away at my third CompTIA certification.
AAS in Cybersecurity
I was a bit hesitant to go back to a formal institute of higher learning, but I found a program that checked a lot of the boxes for me. So here I am, working on my second degree.
Wireshark
I’m really excited to start learning more about computer networks and the nitty gritty of how those networks function on a more detailed level.